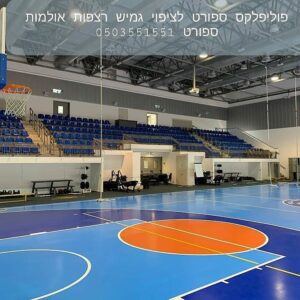
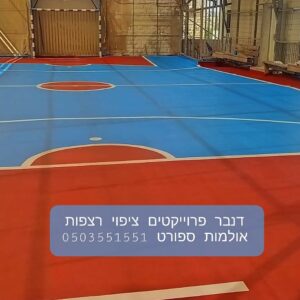
A sports hall specifies the execution of a concrete floor coating
A sports hall specifies the execution of a concrete floor coating
Concrete sports hall floor coating execution specification
Area preparation:
The concrete surface:
- Planetary diamond vacuum polishing to obtain at least 50% surface area of visible sharpened grit. (Less than this is not enough to obtain sufficient adhesion to prevent the coating from separating from the surface).
- Opening expansion seams and widening cracks.
- Thorough vacuuming.
- Application of transparent epoxy fluor primer for complete impregnation. including cracks and expansion joints. For wet concrete epoxy flour primer 450
- Drying 6-24 hours.
- Inserting a backup profile for expansion seams.
- Polyplex 225 elastomeric filling of the seams and cracks to “zero” height.


Gluing rubber sheets (if required in the specification) is optional :
- Laying out the 5 mm or 8 mm (depending on the requirement) sheets of rubber rolls on the surface against the direction of rolling, so that the bumps are upwards. The rubber must be given time to sink and straighten. If the rubber comes in rubber surfaces and not rolled, there is no need to wait for subsidence and leveling.
- One whole row should be picked up next to the wall, apply polyplex GG glue with a serrated spatula and place the leveled rubber on the glue and fasten it and stick it to the wall.
- So on row by row to cover the entire floor without gaps and fasten. Weights can be placed on the rubber for tightening for 24 hours.
casting:
- If without rubber – casting 3 mm polyplex sport , leveling with a toothed bar and spike roller.
- If with rubber – apply the first layer Polyplex Sport with a thin layer roller to fill the surface and obtain a smooth sealed layer. 24 hours later – casting 2 mm Polyplex Sport.
Concrete sports hall floor coating execution specification
Preparation of the Polyplex Sport mixture for casting:
- Mix well the desired amount in a 3:1 ratio, 3 parts colored base with 1 part transparent hardener. The material comes in a ratio of 3:1 and you can put the whole mixture into the whole bucket and mix.
- Transfer to another clean container and mix again – mandatory . This is to make sure that there is no unmixed material left on the sides of the first vessel.
- Immediately pour the entire contents on the floor (otherwise within 10 minutes it will start to heat up and spoil) and level to the desired thickness with a notched spreader.
markings:
- Measurements and layout of templates and masking tape for straight lines.
- Applying Danbergloss white paint/shades as needed.
Protective varnish:
- After 24 hours of drying, apply a layer of Dunbargloss clear silk matte lacquer over the entire surface.

 English
 עברית
עברית Русский